Mixing grout can seem daunting, but it is essential for achieving professional results. Knowing how to mix grout correctly in a paddle mixer makes a significant difference in your project. A paddle mixer provides consistency and ensures that the grout is blended smoothly.
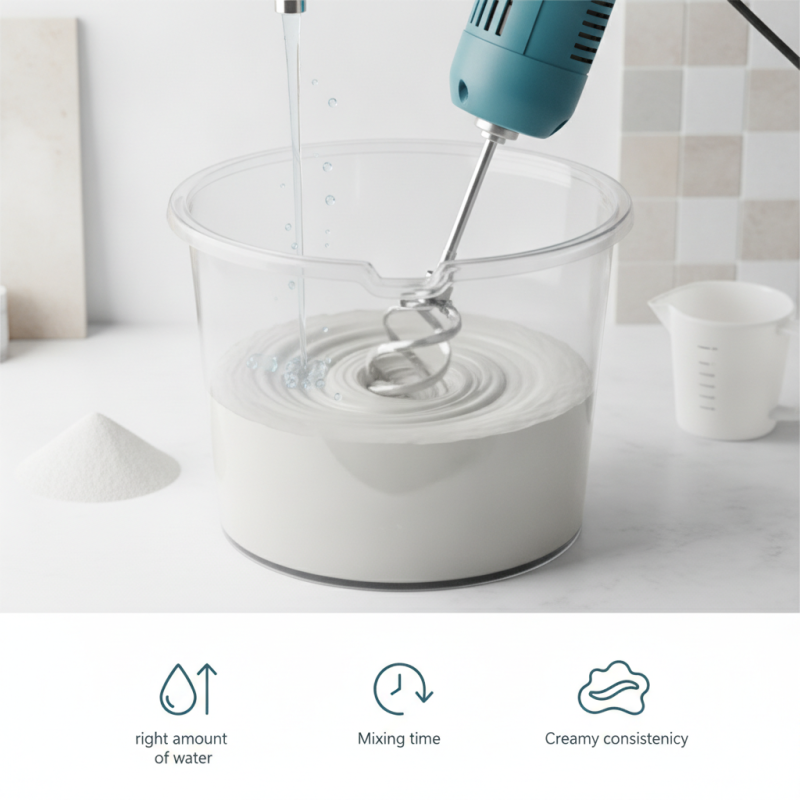
Many people underestimate the importance of this process. Using the right amount of water and mixing time can affect the grout's strength. Too much water can weaken the grout, resulting in cracks. Conversely, not enough water may make it difficult to apply.
Additionally, the texture of the mix is crucial. Aim for a creamy but not overly watery consistency. Paying attention to these details will enhance your overall results. Don't rush the process; take your time to perfect your technique. Experimentation can lead to better outcomes. Remember, practice makes perfect.
When it comes to grout mixing, the process is crucial for achieving durable results. Proper grout mixing enhances its adhesion and longevity. A well-mixed grout ensures an even consistency, which helps in filling the gaps effectively. This avoids future cracking or chipping in your tiled surfaces. It’s essential to follow the manufacturer's guidelines about water-to-grout ratios. Sometimes, people overlook this step, thinking they can eyeball it. This can lead to inconsistent results, making the grout either too runny or too thick.
Using a paddle mixer can significantly improve the uniformity of the mixture. A consistent mix reduces the risk of clumping, which often occurs in manual mixing. Take note of the mixing duration. Too short, and you may not achieve that fluidity; too long, and it can dry out quickly. Mixing in smaller batches can be beneficial. It allows you to focus on maintaining quality over quantity. Frequent checks on the mix’s texture can enhance the final outcome. These small adjustments make a big difference in the end.
| Step | Action | Time (minutes) | Tips |
|---|---|---|---|
| 1 | Gather all materials | 5 | Use clean tools for best results |
| 2 | Measure water and grout powder | 5 | Follow the manufacturer's ratio |
| 3 | Add water to the mixer first | 2 | Prevents clumping |
| 4 | Slowly add grout powder | 3 | Add in batches for even mixing |
| 5 | Mix at low speed | 10 | Avoid whipping air into the mixture |
| 6 | Check consistency | 2 | Should be smooth and workable |
| 7 | Let it rest | 10 | Resting helps improve workability |
| 8 | Mix again before use | 2 | Ensure uniformity |
: The right paddle mixer enhances consistency and workability, reducing air pockets and ensuring a smoother blend.
A mixer with a minimum speed of 600 RPM often yields the best results for most grout types.
Always measure grout powder and water accurately. A poor mix ratio can lead to inconsistent texture.
Common mistakes include rushing the mixing process and not following specific water ratios for grout types.
Grout should be mixed for about two to five minutes for a smooth, lump-free consistency.
Scrape the sides of the bucket occasionally and ensure all components are mixed completely.
Dried grout is harder to remove and can contaminate future batches, so clean it right away to save time.
Yes, sometimes adjusting the water slightly can help achieve the desired creamy consistency.
Only mix the amount you can use in the work time; leftover grout often hardens, leading to waste.
Take time to practice mixing; even skilled professionals can improve with experience and attention to detail.
To achieve the best results when working with grout, it is essential to know how to mix grout correctly in a paddle mixer. Proper grout mixing not only ensures a uniform consistency but also enhances adhesion and overall finished appearance. Choosing the right paddle mixer tailored for grout is the first step, as it facilitates efficient mixing and reduces the risk of clumping.
Once the appropriate mixer is secured, follow a step-by-step guide to achieve optimal mixing. This includes measuring the right amount of water and grout, gradually adding grout to the mixer, and ensuring thorough mixing. To achieve the perfect grout consistency, watch for a smooth and creamy texture, and be mindful of common mistakes such as over-mixing or using improper water-to-grout ratios. By adhering to these guidelines, you can ensure a flawless application and lasting results for your tile projects.
