Shotcrete rebound is more than a visible pile beneath the work face. It signals lost material, unstable placement, and possible weaknesses in the finished lining. ACI 506R-16 and EFNARC guidance commonly report rebound levels of 5–15% on vertical surfaces and 15–30% overhead. Poor control can push losses much higher.
The practical question is how to prevent rebound loss during shotcrete spraying. The answer begins at the nozzle. Correct distance, angle, air pressure, material flow, and steady movement matter more than simply increasing cement content. Marc Jolin, a recognized shotcrete researcher, captures this principle clearly: “The nozzleman is the key to shotcrete quality.” His point remains easy to underestimate.
Experienced crews watch the spray pattern closely. A harsh, dusty impact suggests excessive velocity or poor moisture balance. A wet, sagging surface may indicate excessive water or insufficient air. The nozzle should usually remain nearly perpendicular to the receiving surface, with controlled circular movements. Rebound must never be mixed back into fresh shotcrete.
Material selection also matters. EFNARC recommendations emphasize suitable aggregate grading, stable pumpability, and disciplined application procedures. Fiber type, dosage, and substrate preparation can influence rebound, too. Still, no additive can replace skilled nozzle operation.
Some losses are unavoidable. That is the uncomfortable part. Yet many projects accept preventable waste as normal. Better pre-spraying trials, continuous operator feedback, and documented rebound measurements can expose that habit. The strongest prevention strategy is not a single product. It is a repeatable process, verified under actual site conditions.
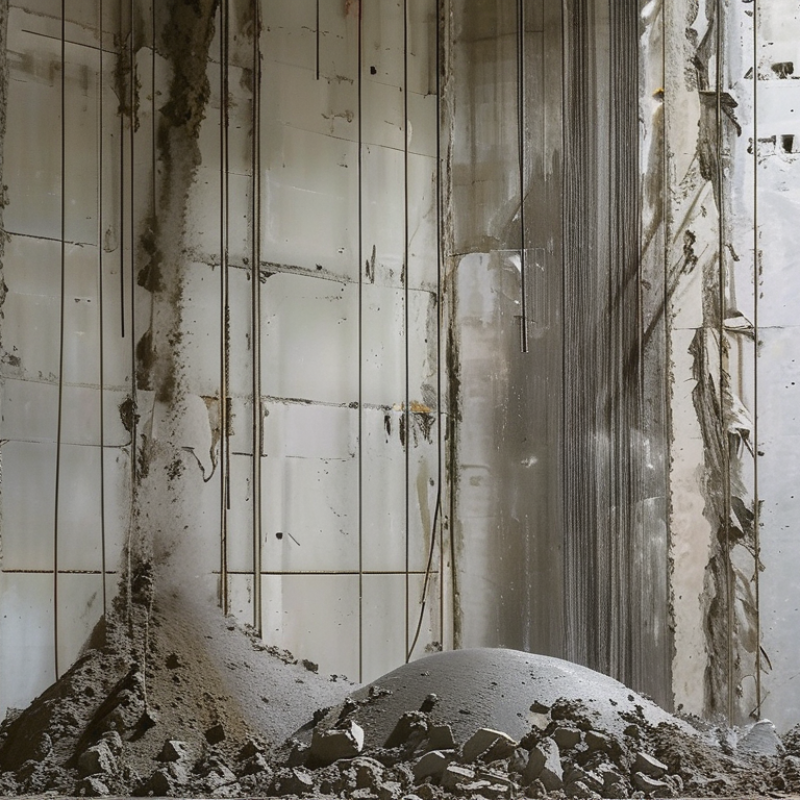
Shotcrete rebound is the material that bounces away instead of bonding to the sprayed surface. Typical rebound loss ranges from 5% to 20%, depending on the application. Walls often produce less waste than overhead work, where gravity and impact act together. Poor surface preparation, excessive air pressure, and an incorrect nozzle angle can increase losses quickly. It is visible. Loose particles collect below the nozzle and reveal where control is failing.
Preventing rebound starts with a clean, damp, and stable surface. The nozzle should usually remain close to perpendicular to the target area. A skilled operator adjusts distance, angle, and spraying speed continuously. Excessive velocity may improve coverage, but it can also strip fresh material from the surface. Mix consistency matters too. Too much water, uneven aggregate, or delayed delivery can reduce adhesion. From field experience, aiming for zero rebound is unrealistic. The better goal is controlled, measurable loss.
Tips: Track material delivered and material placed for each section. Inspect rebound piles before disposal; they often show changing nozzle technique. Keep the nozzle steady, but do not treat one setting as universal. Trial panels can expose problems before production begins. Record wall, overhead, and repair areas separately. A 5% loss may be reasonable in one location, while 20% may signal poor control in another. Review the numbers honestly. Small adjustments often prevent large waste.
Why and How to Prevent Shotcrete Rebound Loss?
Identify Rebound Drivers: Nozzle Angle, Air Pressure, Mix Design, and Impact Speed
Shotcrete rebound is not only wasted material. It can create weak pockets, extra cleanup, and uneven thickness. On active sites, nozzle control often makes the biggest visible difference. Hold the nozzle nearly perpendicular to the receiving surface, while keeping a steady distance. Keep it steady. A shallow angle can throw coarse particles back toward the operator and leave a harsh, sandy face. Corners and overhead areas need slower movements and closer observation.
Air pressure must match the hose, material, and pumping conditions. Excessive pressure accelerates particles and increases impact energy. Too little pressure may produce poor flow, blockages, or irregular placement. A qualified nozzle operator should adjust pressure gradually, not by guesswork. Small changes matter. Record settings during trial panels, then compare rebound, surface texture, and achieved thickness.
Mix design also controls loss. Excessively dry material may separate before impact, while excess water can reduce cohesion and increase sag. Aggregate grading, fiber content, and admixture dosage should follow the approved design and project specifications. Impact speed is affected by both pressure and nozzle distance. A close, controlled stream usually performs better than a fast, distant blast. I have seen crews blame the mixture when the nozzle angle was the real problem. That assumption can fail. Rebound should be checked through measured site observations, not appearance alone. Conditions change, and even a good setup may need correction.
| Rebound Driver | Practical Target or Range | How It Increases Rebound | Recommended Control | Field Verification | Expected Effect |
|---|---|---|---|---|---|
| Nozzle angle | Keep the nozzle as close as practical to 90° to the receiving surface. | Oblique spraying increases tangential impact, causing coarse aggregate and partially bonded material to ricochet from the surface. | Use a steady, perpendicular spray pattern. For corners, recesses, or congested reinforcement, adjust the position rather than sharply tilting the nozzle. | Observe the nozzle-to-surface line and check that rebound is not concentrated on one side of the work area. | Lower rebound and more uniform build-up |
| Nozzle distance | Commonly about 0.5–1.5 m, adjusted for equipment, mix, and access conditions. | Too far away can disperse the stream and increase impact losses; too close can produce an unstable, overly concentrated jet and poor coverage. | Maintain a consistent stand-off distance while keeping the nozzle perpendicular and moving continuously. | Mark or estimate the nozzle distance during trials and compare rebound at several stand-off positions. | More stable spray stream |
| Air pressure | Often approximately 5–7 bar at the nozzle for many applications; confirm the value through a site trial and equipment requirements. | Excessive pressure raises particle velocity and impact energy. Insufficient pressure can cause an inconsistent stream, poor mixing, and intermittent surging. | Use the lowest pressure that provides a continuous, well-atomized stream and adequate compaction. Avoid correcting mix or blockage problems only by increasing pressure. | Measure pressure near the nozzle, inspect hose condition, and check for pressure drop caused by excessive hose length or restrictions. | Reduced impact damage and surging |
| Impact speed | Use sufficient velocity for compaction, but avoid unnecessarily high velocity created by excess air or an unstable feed rate. | Higher particle kinetic energy makes poorly oriented or oversized particles more likely to bounce, especially from hard surfaces and reinforcement. | Balance air pressure, material feed, nozzle distance, and angle. Apply a consistent sweeping motion instead of holding the stream in one spot. | Look for visible bouncing, dust generation, harsh impact noise, or coarse aggregate collecting at the floor. | Better compaction with less bounce |
| Water-to-cementitious ratio | Many structural shotcrete mixtures use a controlled ratio around 0.40–0.50, subject to strength, durability, and workability requirements. | A mixture that is too dry may not bond or compact effectively. Excess water can cause sagging, drainage, or weak material that does not hold the surface properly. | Control added water precisely and verify workability with the approved mix design. Do not add water at the nozzle without a controlled procedure. | Track batch water, test consistency, and inspect the placed surface for dry pockets, sloughing, or excessive paste run-off. | Improved adhesion and cohesion |
| Aggregate grading and maximum size | Use well-graded aggregate with a maximum size commonly around 8–10 mm for many shotcrete applications, unless the approved design specifies otherwise. | Excessive coarse aggregate, gap grading, or poor particle distribution increases collision energy and makes large particles more likely to rebound. | Maintain continuous grading, control moisture, and prevent segregation during storage, batching, conveying, and delivery. | Review sieve analysis, inspect the delivered stream, and check whether coarse particles accumulate beneath the spray area. | Smoother stream and lower coarse-particle rebound |
| Surface condition | The receiving surface should be sound, clean, and free from loose particles, standing water, oil, and dust. | Contamination or loose substrate prevents the first layer from developing sufficient bond, causing fresh material to bounce or detach. | Scale and clean the substrate, remove loose material, control seepage, and pre-wet mineral surfaces when required without leaving standing water. | Perform a visual inspection and confirm that water, dust, laitance, and loose rock have been removed before spraying. | Higher initial bond |
| Operator movement and layer thickness | Build thickness progressively in controlled passes; avoid prolonged spraying in one location. | A stationary nozzle overloads the surface and can cause sagging, secondary rebound, and loss of partially set material. | Use overlapping sweeping passes, remove rebound before encapsulation, and follow the specified maximum layer thickness. | Monitor pass width, travel speed, build thickness, and the time between successive layers. | More consistent thickness |
| Rebound monitoring | Record rebound separately for walls, floors, overhead areas, corners, and heavily reinforced zones. | A single overall percentage can hide local problems caused by geometry, access, operator technique, or mix instability. | Collect and weigh rebound from defined areas, then correlate the result with nozzle angle, pressure, distance, mix batch, and surface type. | Use a trial panel or measured production zone and compare results after changing one control variable at a time. | Evidence-based adjustment |
Shotcrete rebound often begins with poor control of the water–cement ratio. A practical working range is about 0.40–0.50, depending on cement type, aggregate moisture, and admixture dosage. This range usually supports stronger adhesion without making the mix excessively stiff or fluid.
Too little water can leave the material harsh and dusty. The stream may strike the surface and bounce away instead of forming a compact layer. Too much water can cause sagging, weak paste, and greater placement losses. Small changes matter. Measure aggregate moisture before batching, then adjust added water rather than guessing at the nozzle.
On one project, the crew followed the design ratio but ignored wet aggregate after overnight rain. The mix became too fluid, and rebound was not the only problem. The first test panel showed sagging corners and uneven thickness. We corrected the batch and checked the result under actual spraying conditions. That experience reinforced a simple lesson: the ratio must be controlled at the mixer, not only written on a specification sheet.
A trial panel helps confirm workability, adhesion, and rebound performance. The nozzle operator still needs steady distance and a near-perpendicular angle. Watch the surface. If the material shines, slumps, or falls as coarse particles, stop and investigate. The 0.40–0.50 range is useful, but it is not automatic. Field conditions can quietly change the mix.
Why and How to Prevent Shotcrete Rebound Loss?
Shotcrete rebound often begins with an incorrect nozzle position, not a poor mix. Keep the nozzle 0.5–1.5 m from the surface and aim at 90°. This distance gives the spray enough space to form a stable, focused stream. Perpendicular placement helps cement paste and aggregate meet the substrate together. An angled nozzle can throw coarse particles away, increasing waste and leaving a weaker surface. When the distance changes, adjust gradually. Sudden movements make the spray pattern uneven.
Rebound is also affected by air pressure, material grading, surface moisture, and operator movement. Use the minimum pressure that produces consistent flow, then confirm coverage around corners and reinforcement. Do not chase speed. An experienced nozzle operator keeps the stream moving smoothly and avoids building thick spots. Still, no setting works everywhere. Wind, cramped access, or a rough substrate may require small corrections. Record what changes. This habit improves repeatability and helps crews question avoidable loss instead of accepting it as normal.
Tips: Stand square to the surface, keep the nozzle steady, and check the rebound pile frequently. If coarse aggregate gathers below, correct the angle or distance before continuing. Clean overspray safely and follow the project’s approved method statement.
Keeping the nozzle 0.5–1.5 m from the surface and as close to 90° as practical helps reduce rebound. The chart uses midpoints of commonly reported shotcrete rebound ranges; actual results depend on mix design, spraying skill, air pressure, surface conditions, and material properties.
Key practice: Aim the nozzle perpendicular to the receiving surface, maintain a 0.5–1.5 m stand-off distance, and adjust movement smoothly to minimize impact-related material loss.
Rebound is not just visible waste; it can signal poor application control. Set a measurable target: keep rebound below 10% of the sprayed material. Track each lift with a simple field sheet. Record nozzle angle, air pressure, water adjustment, and the operator’s observations. Keep the wet surface clean. Loose particles can weaken the bond and distort thickness readings. An experienced nozzle operator maintains a steady angle, usually close to perpendicular, while moving smoothly. Still, site conditions vary.
After spraying, measure thickness at multiple marked points, not only where the surface looks uniform. Use pins, depth checks, or another documented method suited to the structure. Record minimum, average, and maximum thickness for every section. Collect representative samples for compressive-strength testing according to the project specification. Strength results should be linked to location, batch, date, and curing conditions. That connection makes weak results easier to investigate. Photographs help, but they do not replace measurements.
Compare rebound, thickness, and strength together. A low rebound rate alone does not prove good shotcrete. Excessive water, poor compaction, or uneven buildup may remain hidden. One practical review found that hurried cleaning increased rebound around corners. That mistake was preventable, but it was not obvious during spraying. Review the records before the next shift. Adjust the nozzle technique, material flow, or surface preparation based on evidence. Document the change and check whether rebound stays below 10 percent.
Shotcrete rebound is material that bounces away instead of bonding to the sprayed surface. Loose particles often collect below the nozzle.
Typical losses range from 5% to 20%, depending on the application. Walls usually produce less rebound than overhead areas.
Gravity and impact work together during overhead spraying. Material may fall before forming a stable layer on the surface.
Use a clean, damp, and stable surface. Keep the nozzle close to perpendicular to the target area.
Yes. A practical working range is about 0.40–0.50, depending on aggregate moisture and admixture dosage.
Wet aggregate can increase the actual water content. A project once followed the design ratio but ignored overnight rain.
A practical target is rebound below 10% of the sprayed material. However, acceptable loss can vary by location and application.
Track delivered material and placed material for each section. Record rebound, thickness, air pressure, water adjustments, and operator observations.
Measure several marked points, not only smooth-looking areas. Use pins, depth checks, or another documented method.
No. Low rebound alone does not confirm proper thickness, compaction, adhesion, or strength.
Shotcrete rebound is the material that bounces off the surface during spraying, commonly causing losses of about 5–20%, depending on the application. Understanding how to prevent rebound loss during shotcrete spraying starts with controlling the main drivers, including nozzle angle, air pressure, mix design, and impact speed. A well-balanced mixture with a water–cement ratio near 0.40–0.50 can improve adhesion and reduce waste.
Application technique is equally important. Keep the nozzle approximately 0.5–1.5 meters from the surface and aim it as close to 90° as possible to ensure proper material placement. After spraying, verify performance by targeting rebound below 10% and recording the applied thickness, material waste, and strength results. These measurements help identify process problems and support consistent, efficient shotcrete quality.

SSG Machinery